Skip to the good bit
ToggleAs earbuds see as much of the world as you do, it’s only normal for them to get dirty quickly. No matter whether you chuck them in your bag or place them carefully in a case, it’s pretty difficult to stop the dirt from getting in.
To keep your earbuds in top condition for many years to come, it’s important to understand how to clean them both effectively and safely. This is where this guide will help.
What you’ll need
- Microfiber cloth
- Earbud cleaning swab
- Warm soapy water
- Rubbing alcohol
Pre-cleaning preparation
Before you start cleaning, there are a couple of things that you need to do. This will help to ensure that you have a smooth process without causing any extra damage.
-
See what you’re working with
Firstly, it’s worth assessing how grubby your earbuds actually are. This will help you figure out how extensive of a clean is needed. If most of the dirt lies on the grilles, a gentle approach will be needed, as this is the most fragile part of the earbud. If your model allows it, don’t forget to carefully remove the ear tip for further inspection, too.
-
Disconnect the earbuds
We all know that electrics and water do not mix. While your chances of getting electrocuted are at a minimum, we’d rather you didn’t take the risk. Unplug your earbuds from their power source before cleaning and make sure they are switched off completely.
How to clean your earbuds and AirPods
Now that safety measures are out the way, it’s time to get to work! Follow these directions closely, tailoring the approach to how much your earbuds need a clean.
-
Clean the insides

As gross as it is, the leading cause of dirty earbuds is ear wax. When left for too long, ear wax can muffle the sound from your earbuds. It’s best to get rid of it as soon as it occurs.
Grab your earbud cleaning swab and gently scrape off any ear wax. Take extra caution if the wax is on the grilles, as scratching them might cause permanent damage.
-
Wipe delicate areas with a soft cloth
Once all signs of ear wax have been removed, wipe the same area with a soft microfibre cloth. This will help to remove any stubborn bits of dirt sticking to the earbuds.
Top Tip: For best results, point the earbuds to the ground while wiping them. This ensures that the dirt doesn’t re-enter the part you just cleaned.
-
Wash the exterior with soapy water
Now it’s time to tackle the less-delicate areas. First, create a simple solution of antibacterial soap and warm water. Then, briefly soak your soft cloth in the solution, ensuring that it’s ever-so-slightly damp.
Once your cloth has some solution on it, gently wipe all outer casings and wires. Being gentle is a must, as it’s important not to cover the grilles with your soapy solution!
Top Tip: We highly recommend cleaning your chargers here too, as dirt can cause charging issues if left unnoticed.
-
Use rubbing alcohol (if necessary)
If the dirt is choosing to be particularly stubborn, it might be time to get a more thorough cleaning method involved. Similarly to soap and water, rubbing alcohol should only be used on the less-delicate areas.
Grab a cotton swab and lightly dip it into the rubbing alcohol; this is a potent solution, so you certainly won’t need much. Once the swab is covered, lightly shake it until dry and then wipe your earbuds.
Important Note: As rubbing alcohol is incredibly strong, only use it if the previous methods don’t work. It can damage your earbuds if used incorrectly.
-
Leave to dry
Your earbuds or AirPods should be looking brand new by now. If you’re happy with your cleaning efforts, leave them to dry for around two hours before using them again. Make sure that they are sitting in a stable position that won’t result in water running into the grilles.
How often should I clean my earphones?
How often you clean your earphones will entirely depend on how much you use them. If you spend every day in the gym, for example, you should clean them after every session. Wiping away sweat will be beneficial to both earphone performance and your health!
Instead of sticking to a weekly cleaning routine, just clean your earbuds as soon as dirt appears. It will only take a matter of minutes and will prevent the situation from worsening further down the line.
Relevant read: Should you get wireless earbuds?
Extra earbuds and AirPod care tips
Want to keep your earbuds cleaner for longer and ensure they last for many years to come? Of course, you do. Here are some extra earbud and AirPod care tips worth knowing about:
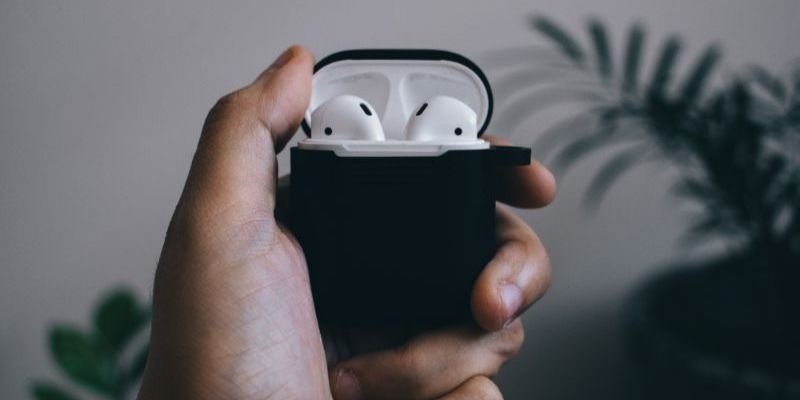
Store them in their case

Hands up – who’s guilty of ditching the case and letting their earbuds roam free? Don’t worry, near enough all of us have been there. Unless you have AirPods and rely on the case for charging, chances are that you don’t keep your earbuds in a case. However, this can seriously damage their lifespan.
The aim of the case is to protect your earbuds, keeping both dirt and scratches at bay. Store your earbuds in a case in between uses and you’ll soon realize just how clean they stay.
Handle wires with care
Cables can be a burden, especially if using wired earphones. There’s nothing more frustrating than getting caught up in wires while on the go!

As frustrating as cables can be, wrapping them around your phone while listening to music is a no-go. Doing this will risk damaging the wire and creating irreversible problems. Instead, purchase a small velcro cable tie to wrap around any excess wire. Or, if the wire continues to get on your nerves, consider investing in some wireless earbuds!
You might like: What you need to know before buying wireless earbuds
Keep an eye on the weather
Did you know that extreme temperatures can potentially damage the battery in your earbuds? To prevent this from happening, avoid using them when the weather is too hot or too cold. If this isn’t possible, store them with a silica gel pack for extra freshness.
Just like most electrical items, your earbuds or AirPods will last for a long time if you look after them properly. With help from this guide, this has never been easier to do.
Want more cleaning tips and tricks for your most-loved possessions? Check out our record player care tips for more information!


